Install Golden Zone on your PCs
Download the PC installer from your panel, type your installation code, and each PC appears on your map by itself.
Every PC of your lounge runs the Golden Zone client. It locks Windows for players, shows the player screen and the sign-in screen, and takes commands from your panel. You install it once per PC.
- Open your lounge panel and go to Map, then press Configuration.
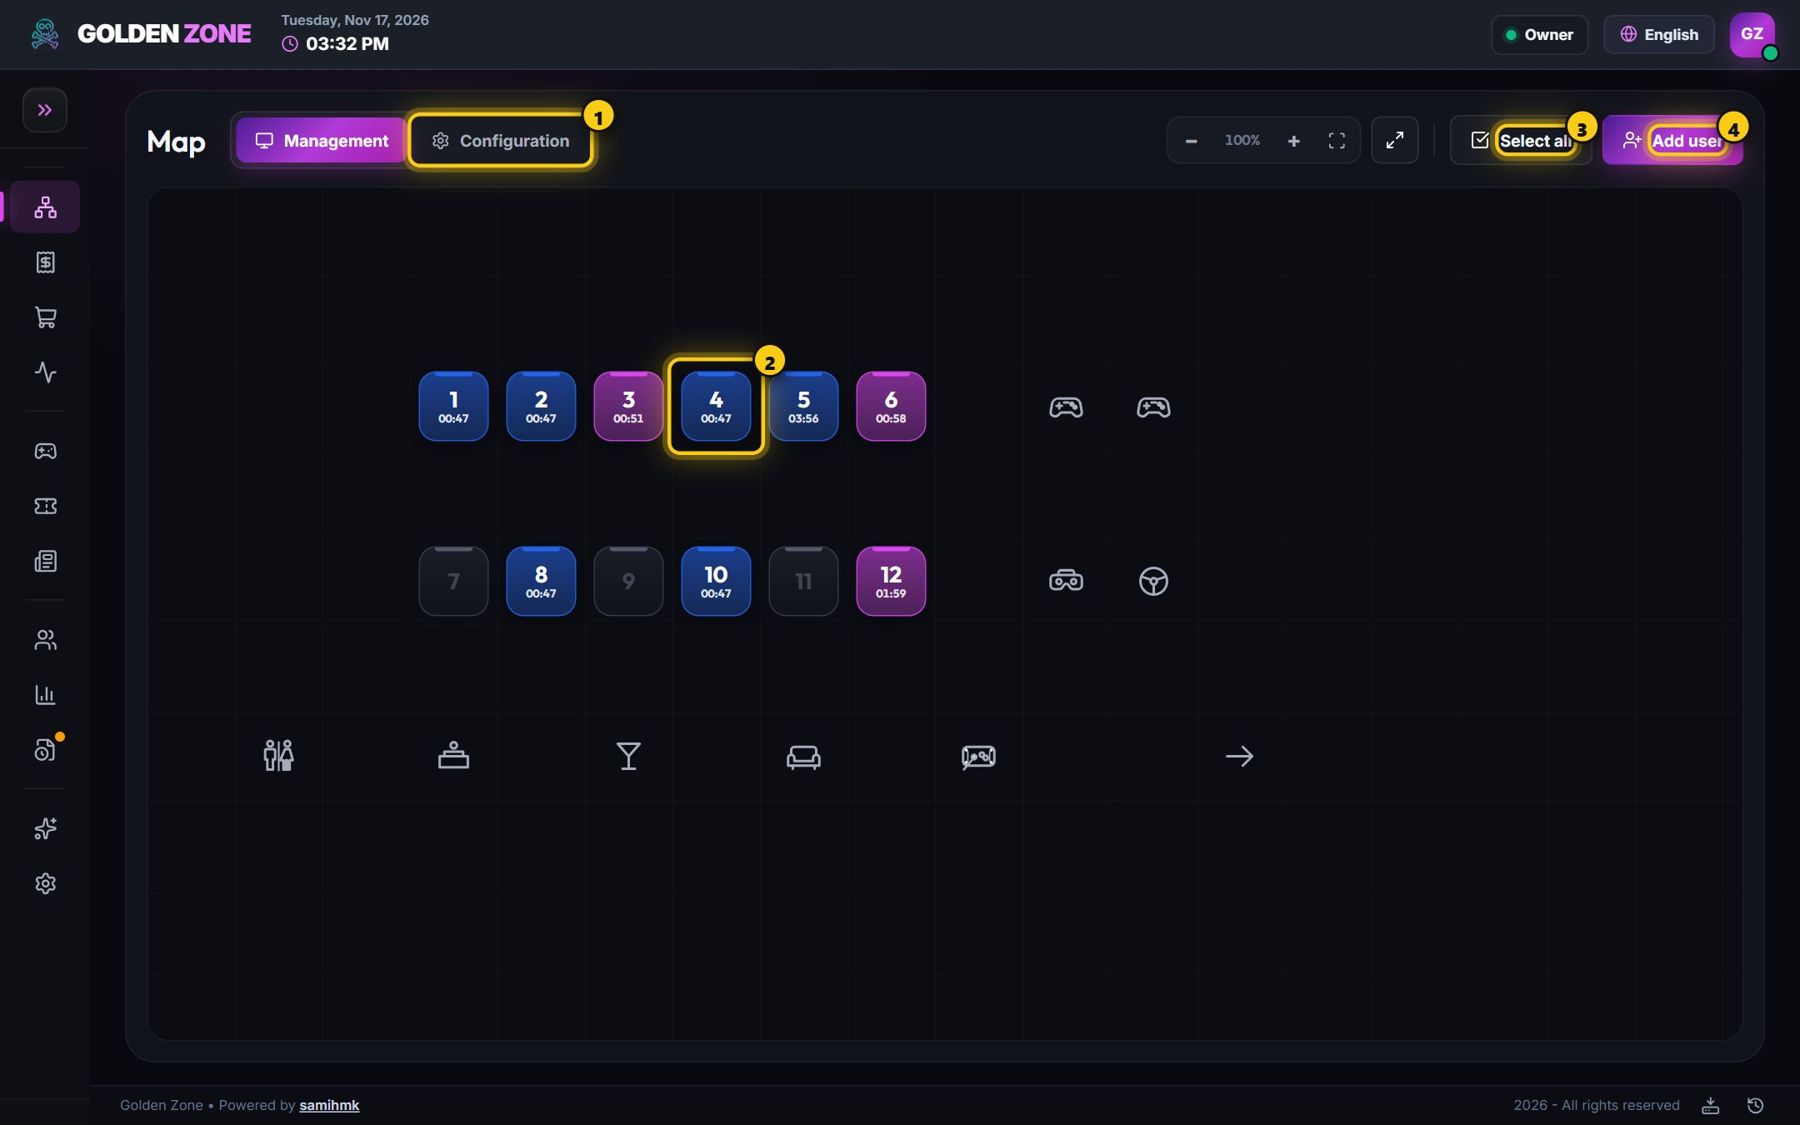
Configuration is next to Management at the top of the map. - In the Settings tab, press Download launcher and copy the installer to each PC (USB stick or shared folder). The same tab shows your Installation code with a Copy button.
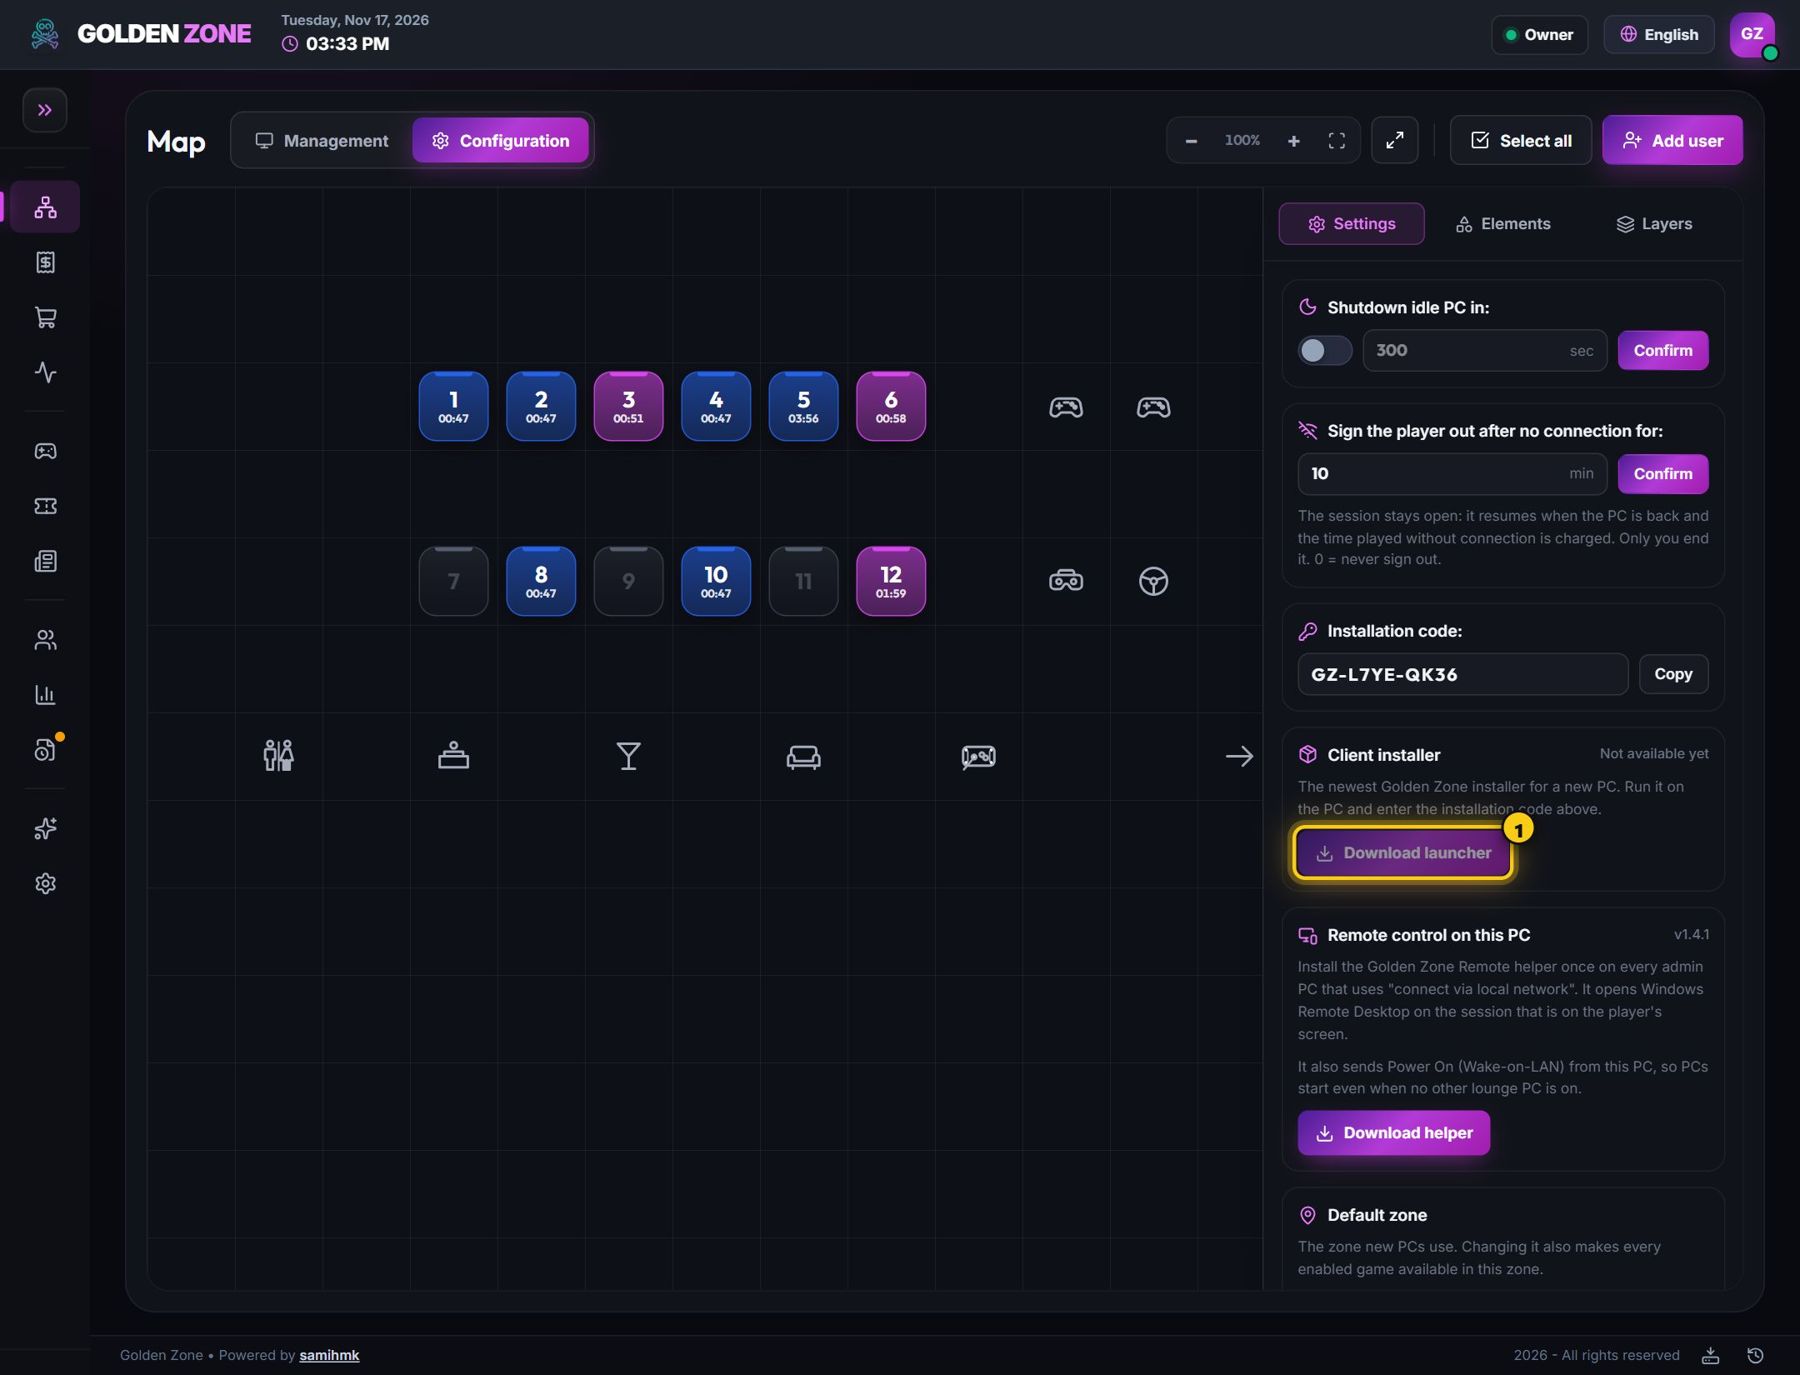
The installer and the installation code of your lounge. - On the PC, run the installer as administrator, type the installation code and choose the PC number.
- Wait for the installer to finish and restart the PC. It appears on your map in its number within a minute.
One number = one computer. If you replace the computer of a PC number, contact support so the number can be released for the new computer.
Install one PC first and check it on the map, then do the others — it takes a few minutes per PC.
Problems & fixes
The installer says the code is wrong
Copy the code again from Map → Configuration → Settings. Type it complete, exactly as shown (GZ-XXXX-XXXX).
The PC does not appear on the map
Check that the PC has internet, then restart it once. See “A PC is grey (offline) on the map”.